In this document we will tell how to use CloudWatch linkage function of HACOBE-CLOUD.
Please run HACOBE-CLOUD beforehand.
If HACOBE-CLOUD has not been run yet, please refer to the following manual to run HACOBE-CLOUD.
Running HACOBE-CLOUD AMI
Step 1. Configuration of HACOBE-CLOUD metrics settings
-
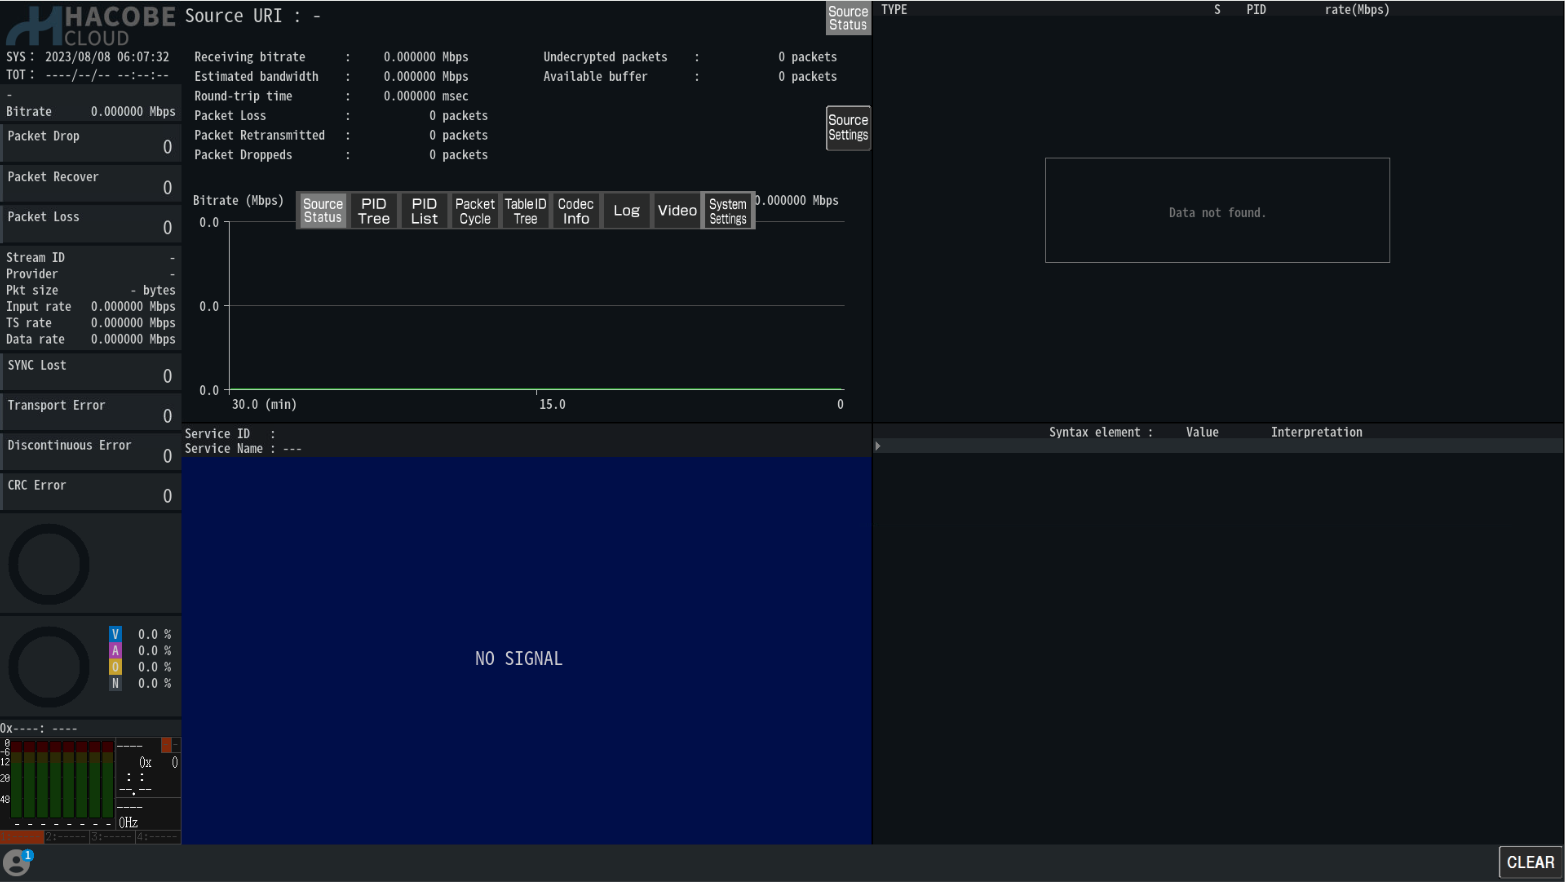
Access the HACOBE-CLOUD web page.
-
Right-click on the screen to display the function buttons.
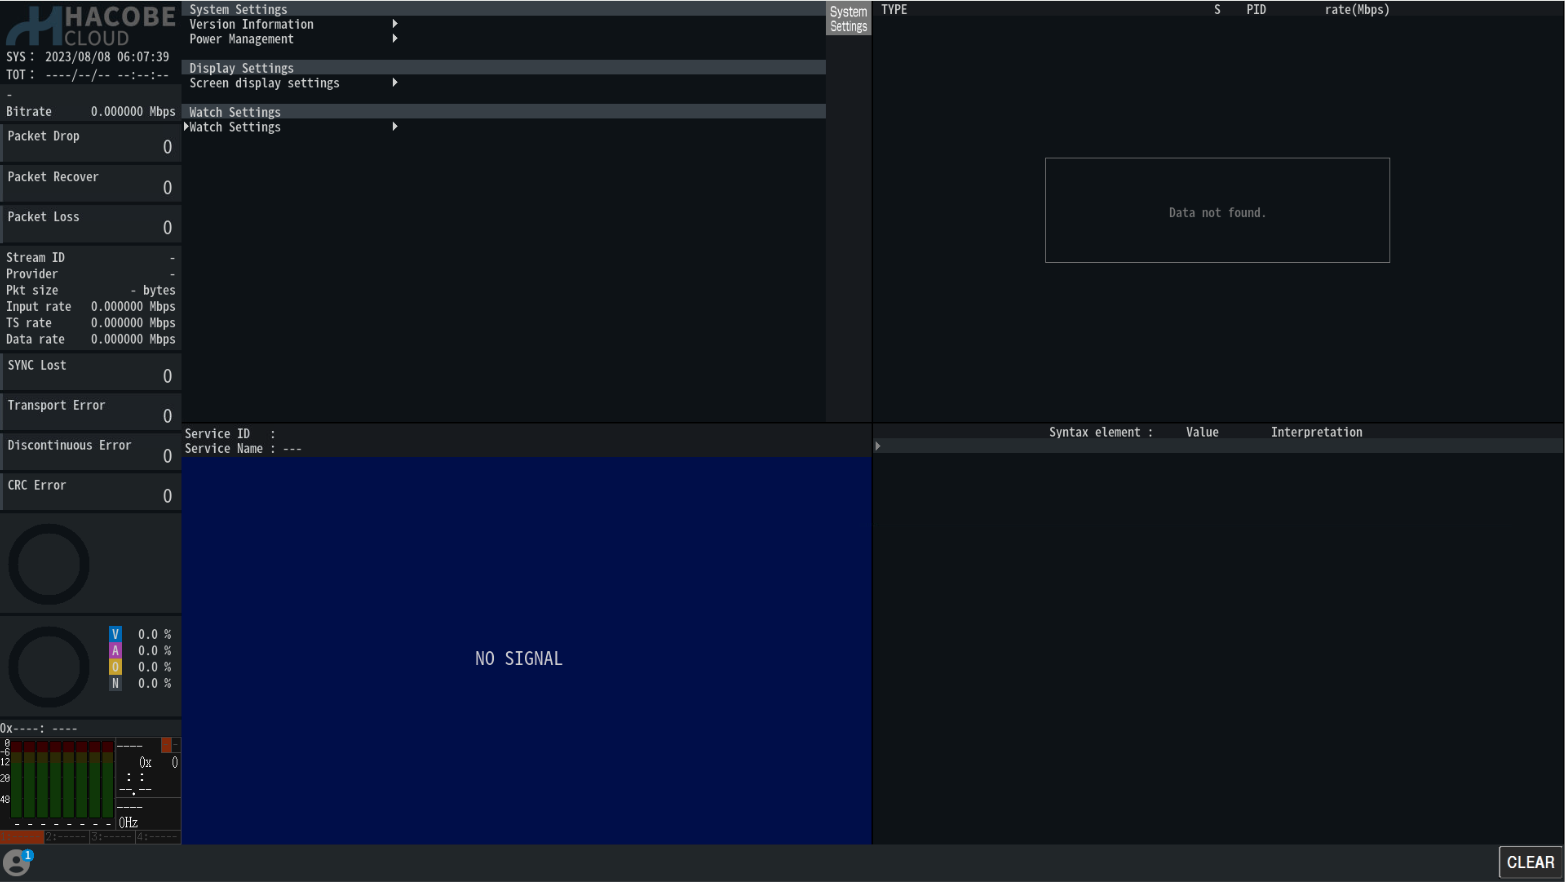
Click on the "Mode Icon" in the upper right corner and select "System Settings" from the "Mode Selector".
-
Choose Watch Settings.
-
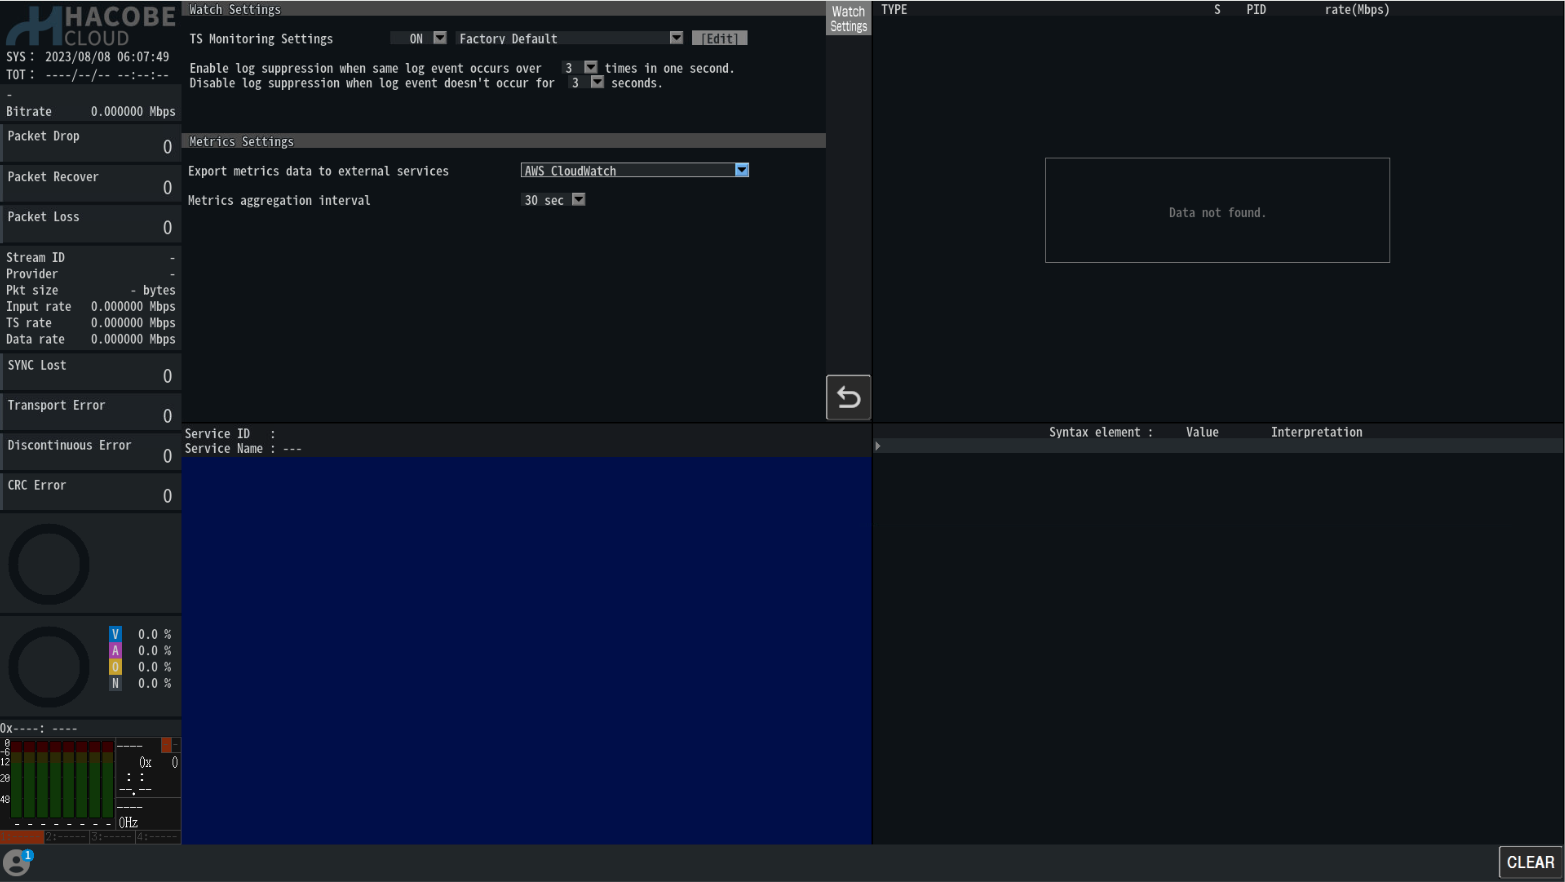
Set the following items in the Metrics Settings.
- Export Metrics data to external services: select [AWS CloudWatch]
- Metrics aggregation interval: Select any value from [1 sec/5 sec/10 sec/30 sec/1 min].
Aggregated metrics at the specified interval are sent to CloudWatch.
However, due to CloudWatch specifications, metrics displayed on the dashboard are aggregated and displayed every minute.
Step 2. Configuring AWS CloudWatch
Metrics sent from HACOBE-CLOUD can be used to visualize graphs, error information, etc. in the CloudWatch dashboard.
By using the Cloud Formation template below, you can easily create standard CloudWatch alarms and CloudWatch dashboards from CloudFormation.
Cloud Formation template
You can change the way graphs are displayed, add graphs, etc., manually after the dashboard is created, so feel free to customize the dashboard for your own use.
-
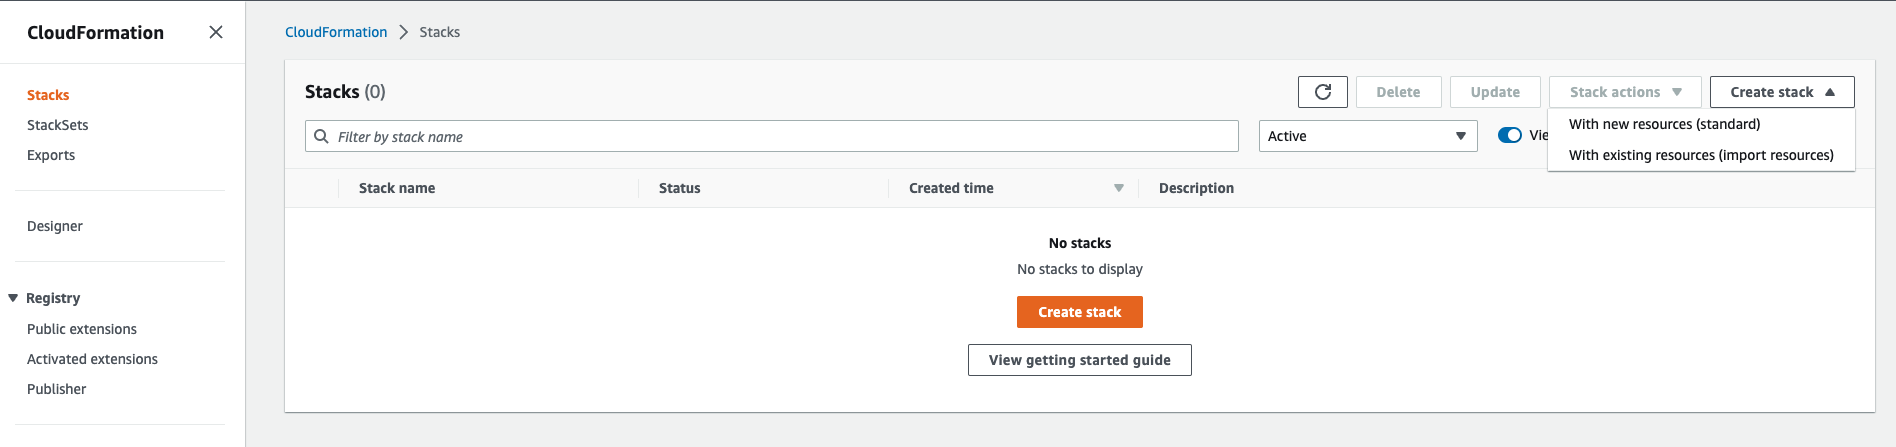
Open the CloudFormation console.
-
From the navigation bar, select the Region where the target HACOBE-CLOUD is running.
-
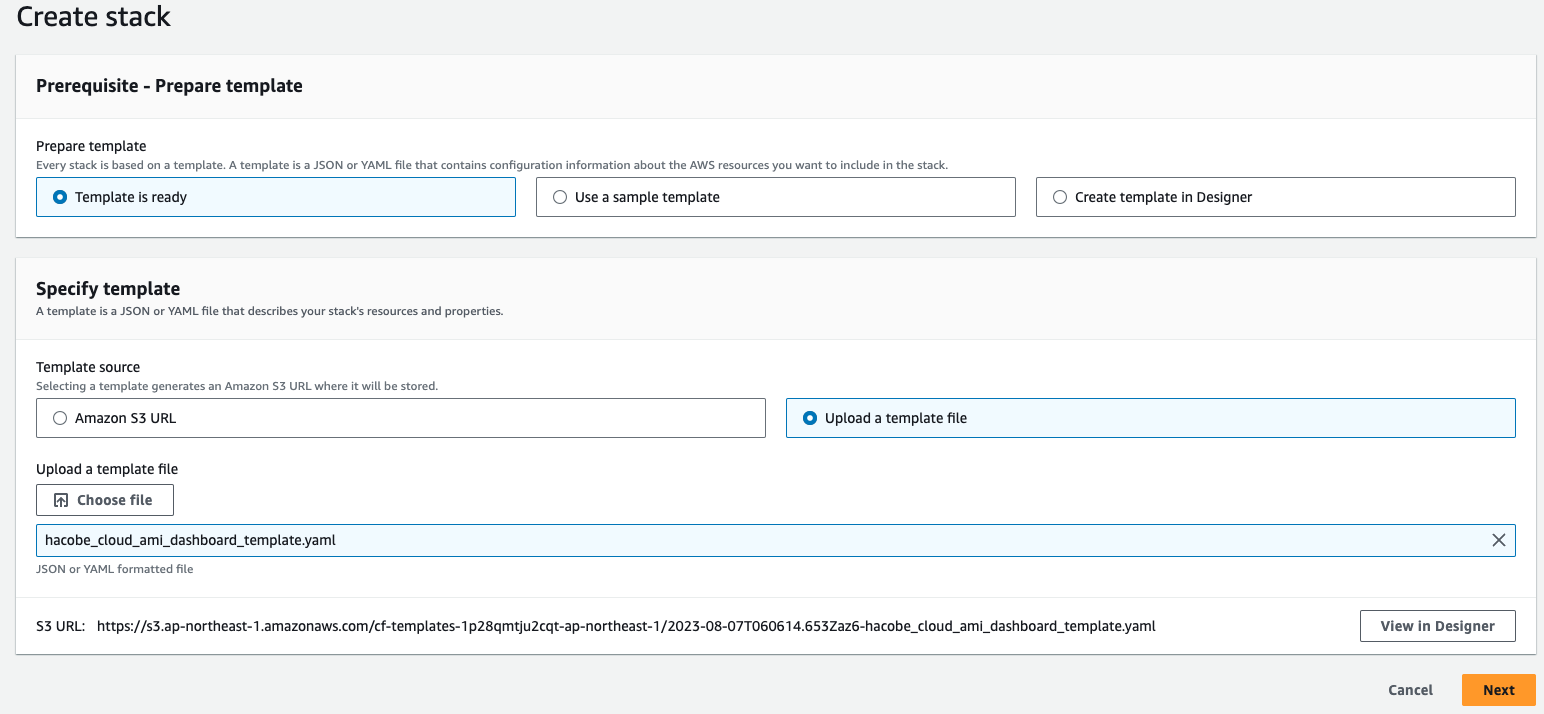
Choose Create Stack and select With new Resource (standard).
-
Select Upload a template file and select the provided hacobe_cloud_ami_dashboard_template.yaml from Choose File.
-
Choose Next.
-
Enter any name for the stack.

-
Set parameters then choose Next.
- Required items
- TargetInstanceId: Select the target EC2 Instance ID.
- Optional items
If not changed, default values are used as is.
It can be changed later by modifying the created CloudWatch alarm settings.
- IdentifierName: The unique identifier name to be appended to the CloudWatch Alarm and Dashboard names
- InputBitrateAlarmThreshold: Bit rate threshold of the input stream
- DataBitrateAlarmThreshold: Data bit rate threshold of the input stream
- VideoBitrateAlarmThreshold: Video bit rate threshold of the input stream
- AudioBitrateAlarmThreshold: Audio bitrate threshold of the input stream

-
Choose Next.
-
Choose Submit.
Stack creation begins and CloudWatch alarms and CloudWatch dashboard are created.


For other HACOBE-CLOUD functions and usage instructions, please refer to the manual from the link below.
English
Japanese